NOTE: this conversion tracking method should not be used in conjunction with server to server (S2S) tracking. Using both together will result in duplicate conversions reported
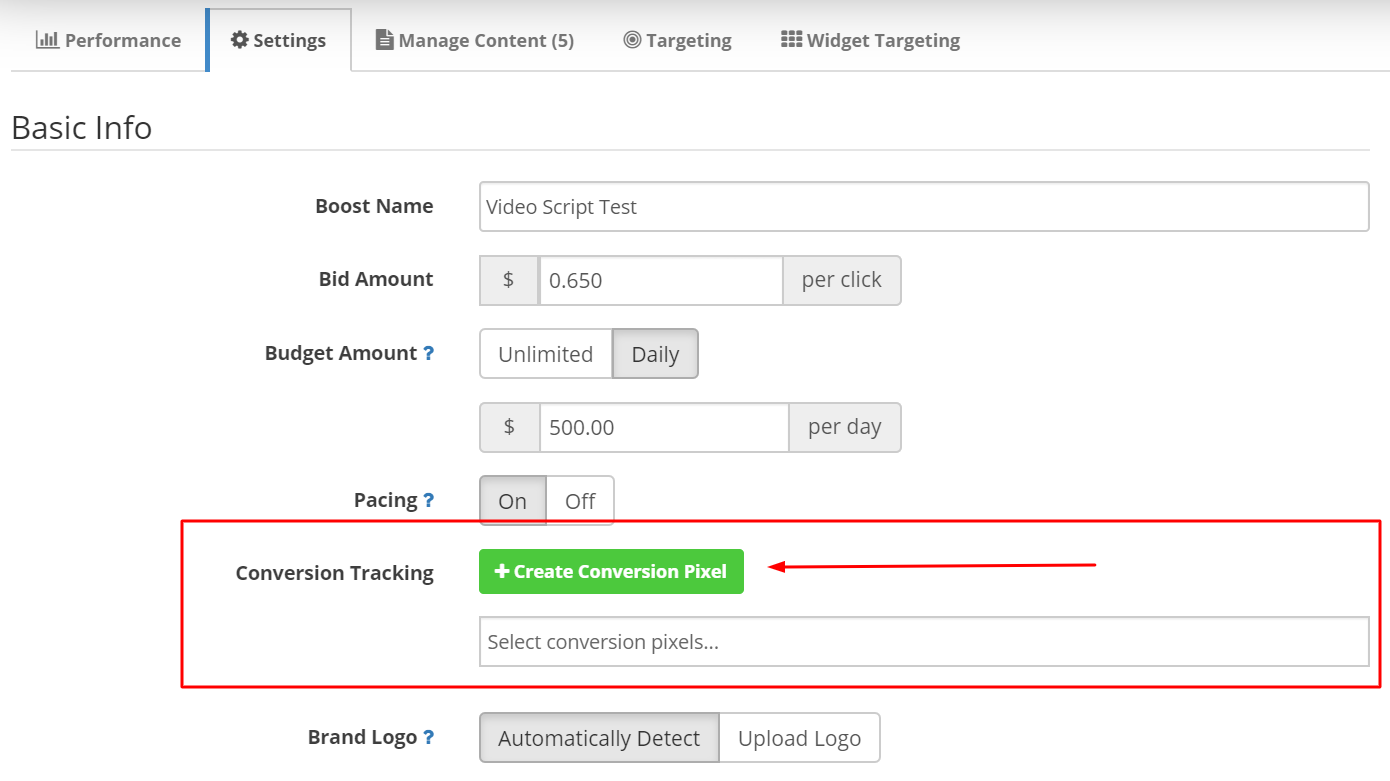
- To create a conversion pixel, navigate to your campaign's "Settings" tab and select the green "+ Create Conversion Pixel" button.
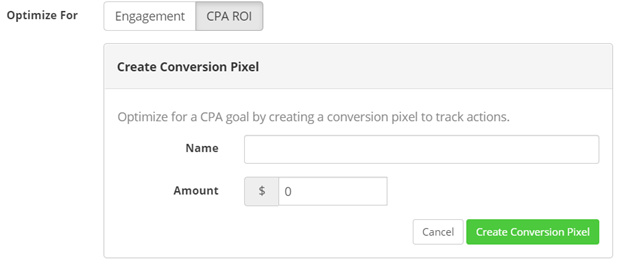
- Name your pixel and specify its value.
- Once you click "Create Conversion Pixel" the pixel HTML will display, which you'll implement between the opening and closing body tags (<body></body>) of your conversion page
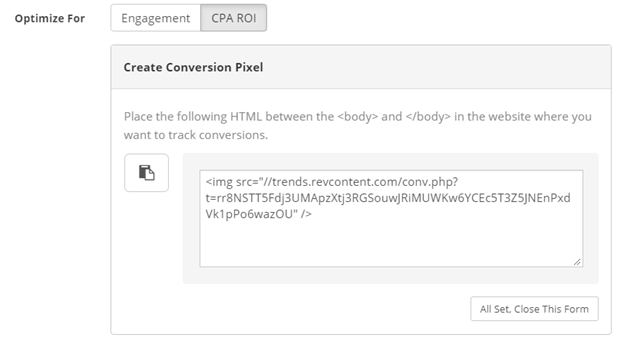
- Once you've copied the HTML code you can select "All Set, Close This Form" button. You're now ready to start tracking conversion events. If you'd like to confirm your pixel is implemented properly and successfully communicating with our servers, you can do so by following the test instructions here.
NOTE:
- pixel codes are encrypted so each time you open the pixel, a new code will appear, however, it will still function in the same manner.
- it's best practice to ensure you're naming your pixels with unique designators as the system will allow you to use the same name and value more than once.
- Conversion pixel attribution window = 30 days
Tracking Multiple Conversion Events:
In order to track multiple events, simply repeat the same steps above creating additional pixels for each conversion event throughout your campaign's funnel.